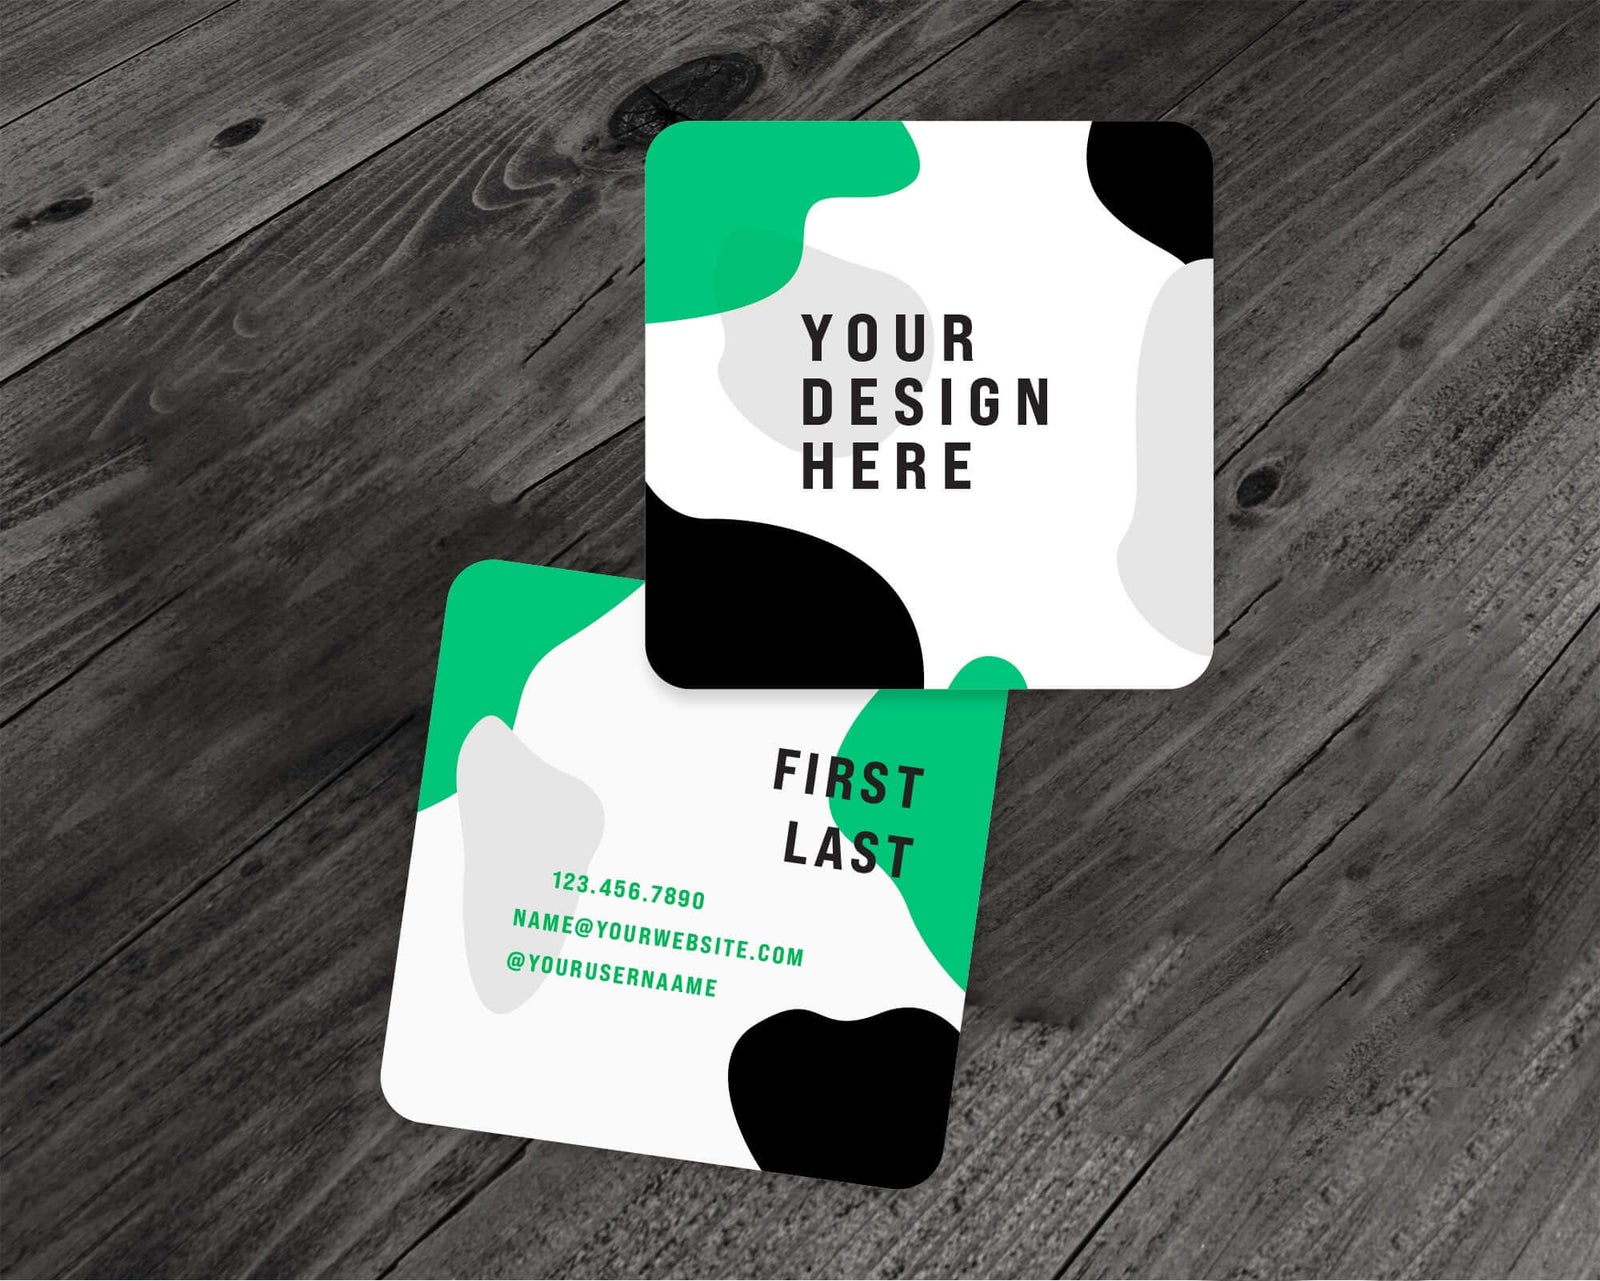
So, you’ve channeled your inner Picasso, whipped up a jaw-dropping design in Canva (or any of those fancy creative programs), and now you’re sitting there thinking, “What’s next? How do I get this masterpiece off my computer and into the real world?” Well, my dear creative genius, you’re not alone! The movement toward DIY design and professional printing is booming, and for good reason. It's empowering, cost-effective, and downright satisfying. Let’s break it all down, step by step, so you can upload your print-ready art and bring your vision to life.
The Rise of DIY Design
Once upon a time, creating professional-looking prints required hiring a designer, shelling out buckets of cash, and hoping they captured your vibe. But thanks to programs like Canva, Procreate, Adobe Express, and a gazillion other apps, that’s ancient history. These tools make it easy for anyone (yes, even your tech-challenged aunt who still clicks “Reply All” accidentally) to create stunning designs.
Why is this trend taking off faster than a cat at bath time?
- Creative Freedom: You get to unleash your imagination without a designer second-guessing your choices.
- Budget-Friendly: Many programs offer free or affordable plans with a smorgasbord of templates and tools.
- Personalization: You can tweak every detail to your heart's content. Your wedding invitations will scream you, not “straight outta generic print shop.”
Getting Your Art Print-Ready
Before you start spamming “Upload” buttons, let’s talk about what it means to have print-ready art. This is where many DIY designers fumble the ball. Don’t worry; we’ve got you covered!
Key Ingredients for Print-Ready Files
-
Correct File Format
The holy grail of printing: PDF. Sure, JPEG and PNG work sometimes, but PDFs are the gold standard. They preserve all the details, colors, and resolutions perfectly. -
High Resolution
Think sharp, not pixelated. Your file should be at least 300 DPI (dots per inch). Anything lower, and your design will look like it came out of a dot matrix printer from the ‘90s. -
Bleed Area
No, we’re not talking about paper cuts here. The bleed is an extra margin of space around your design that ensures your print looks flawless, even if the cutting machine is having an off day. Usually, 0.125 inches on each side will do the trick. -
CMYK Color Mode
While your computer screen operates in RGB (red, green, blue), printers use CMYK (cyan, magenta, yellow, black). Translation: if you don’t switch to CMYK, your hot pink could end up looking more like sad salmon.
Best Programs for DIY Designers
If you’re already a pro with your favorite design tool, hats off to you. But if you’re still exploring, here’s a quick rundown of some crowd favorites:
1. Canva
The ultimate beginner’s playground. It’s drag-and-drop easy, full of templates, and lets you design everything from business cards to event banners. Bonus: It has a built-in “Print” feature to help you preview your design.
2. Adobe Express
Think of this as Canva’s artsy cousin. Adobe Express gives you more creative control while still being beginner-friendly.
3. Procreate
For the illustrators and digital painters among us, Procreate on the iPad is a game-changer. You’ll feel like Van Gogh, minus the ear incident.
4. Affinity Designer
Affordable and robust, this one’s for the intermediate designer who needs a little more oomph without the Adobe price tag.
Upload and Let the Magic Happen
Now comes the fun part: turning your digital design into tangible glory. You’ve dotted your i’s, crossed your t’s, and triple-checked that file for typos (right?). It’s time to upload your print-ready art to the place for amazing prints—Go Print Plus.
Why Go Print Plus? This woman-owned print shop (shoutout to Lisa!) is known for its killer combination of attention to detail, affordable pricing, and lightning-fast turnaround. Whether it’s invitations, flyers, brochures, or banners, Lisa and her team are there to make your design shine. And don’t forget to #lookforlisa if you’re ready to upload your masterpiece and watch it transform.
Tips to Level Up Your Prints
1. Know Your Paper Options
Glossy, matte, textured—oh my! The type of paper you choose can make or break your print. Glossy works wonders for vibrant photos, while matte is classy and timeless for text-heavy designs.
2. Consider Special Finishes
Want to add some extra pizzazz? Look into foil stamping, embossing, or spot UV coating. These little touches can turn a great print into a showstopper.
3. Proof Before You Print
Always, always order a proof if it’s a big order. It’s worth the extra time and cost to catch any sneaky errors or color discrepancies.
4. Batch Your Prints
If you’ve got multiple projects, try bundling them into one print order. Many print shops offer discounts for larger batches, saving you money and time.
The Joy of DIY Printing
There’s something incredibly satisfying about seeing your vision come to life in physical form. You spent hours perfecting that wedding invitation, flyer, or business card. Now it’s ready to impress, whether it’s hanging on a bulletin board or being handed out at a networking event.
And here’s the thing: printing doesn’t have to be intimidating. With the right tools, some savvy tips, and a reliable print partner like Go Print Plus, you’re set for success.
So what are you waiting for? Channel your inner Michelangelo, fire up your favorite design tool, and start creating. Then, take that leap, upload your print-ready art for the world to see and then go print. After all, what’s the point of being a creative genius if no one gets to admire your brilliance?
Oh, and if you’re still on the fence about where to print, just remember: #lookforlisa. She’s got you covered, from business cards to banners and everything in between. Happy designing! 🎨✨

